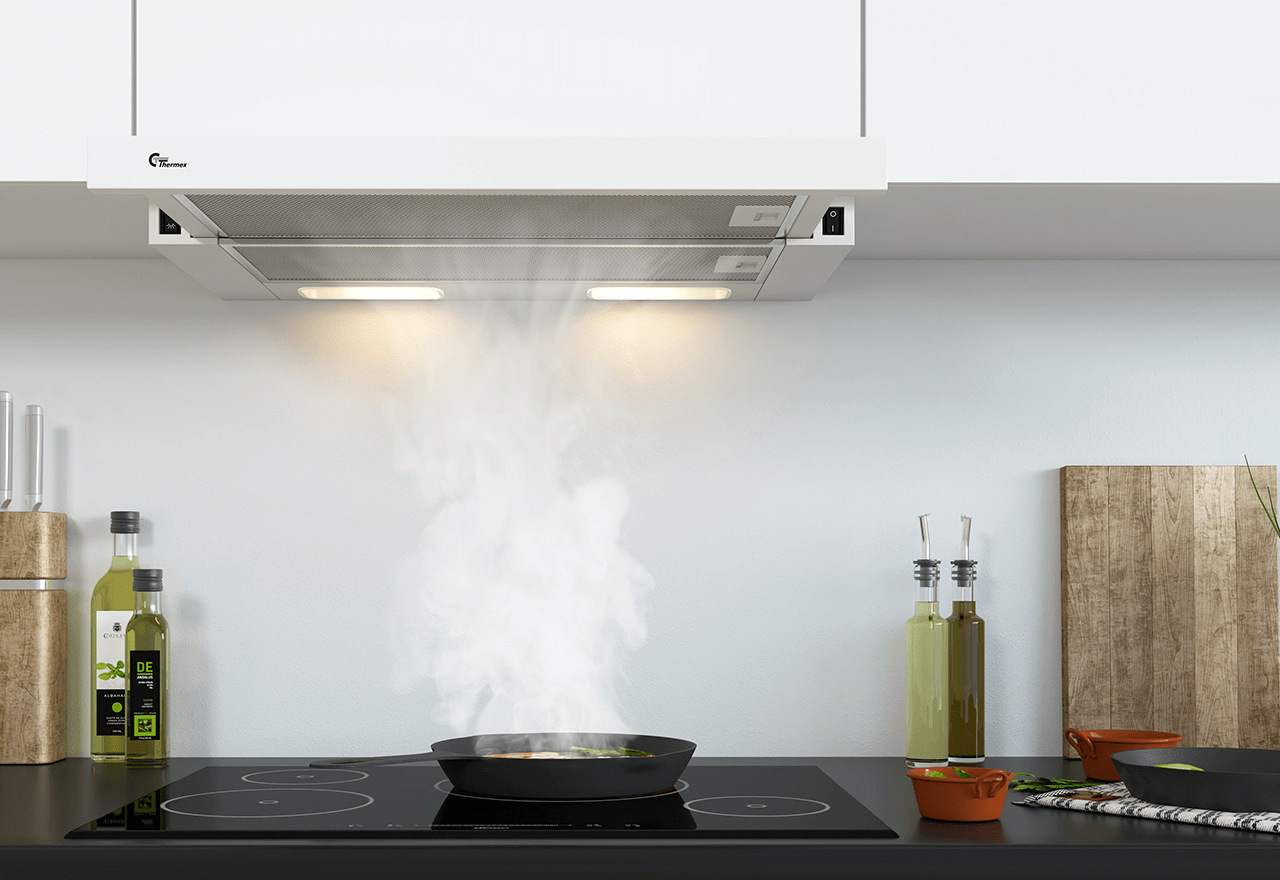
The Thermex Central Gemini IV is the latest new model in our popular Gemini series. The hood is intended for central ventilation. This means that the hood has a metal flap that can be opened and closed via the hood's controls, and therefore not a motor like on a traditional hood. When the damper opens, the extraction from the hood via the building's ventilation system is increased.
Gemini IV is designed as a pull-out hood, which has the advantage of covering a larger area than e.g. a built-in model. At the same time, this means that the hood's absorption rate is improved. And when you are not cooking, you can push the extractor in and only the hood's front strip is visible under the cabinet.
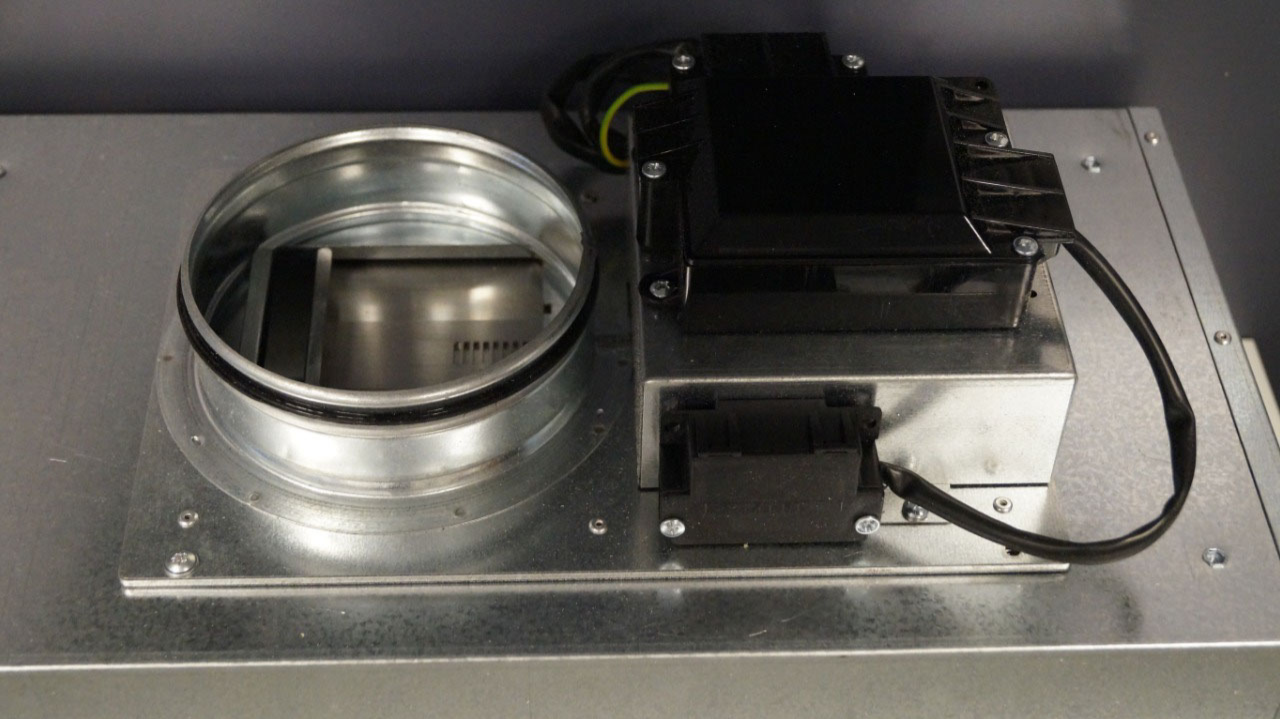
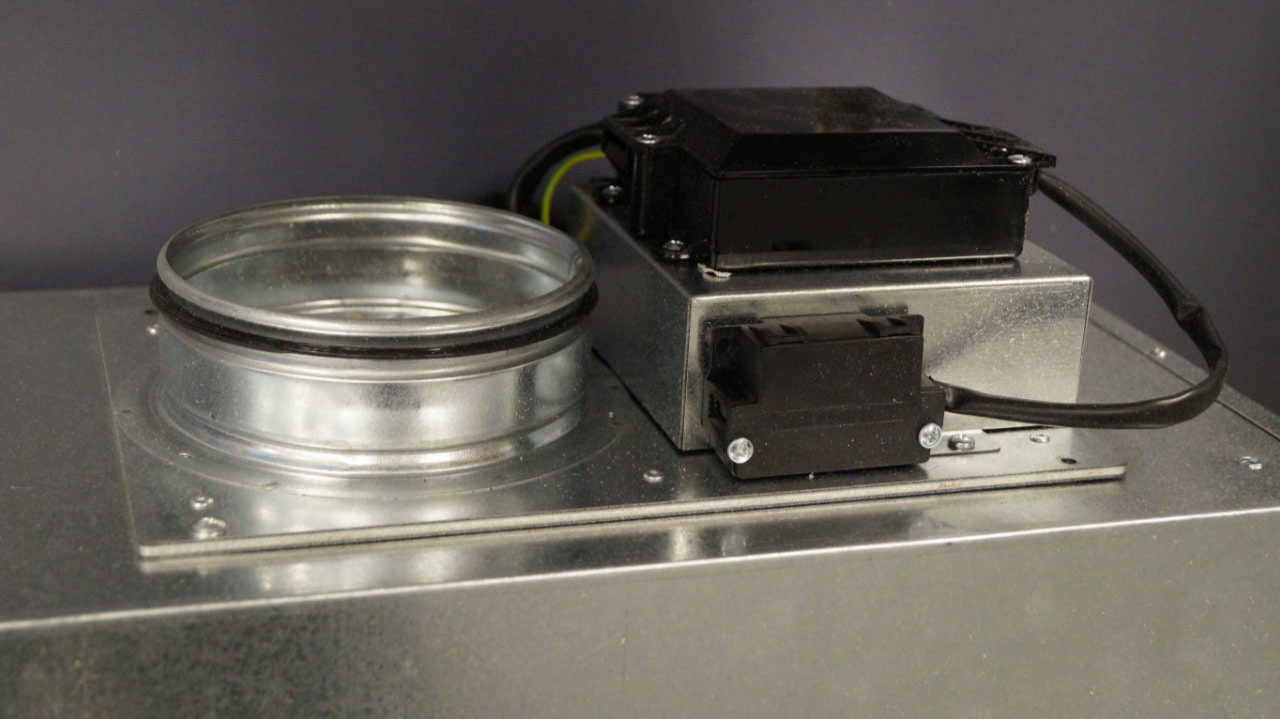
The new damper in the hood is the difference from previous versions. Here, great emphasis has been placed on the damper opening being as large as possible to ensure the lowest possible pressure drop. This means that less demands can be placed on the ventilation system compared to before. The larger the opening, the less pressure above the damper is required by the ventilation system. In addition, it is also possible to close the damper completely. The Gemini IV damper is now powered by an electric motor, so compared to previous versions, the hood's damper opens much faster.
There is a built-in switch (trigger/potential free contact set) in Gemini IV. It is a function that allows the hood to notify the ventilation system that the hood is in operation.
The hood's filters are easily removed when cleaning the hood. The filters can be washed in a dishwasher.
Operation
The hood's operation is very simple. When you pull out the extractor, you will find an on/off button for the hood's lighting on the left side. And on the right side you will also find an on/off button for the hood's damper. In addition, there is a built-in function in the extractor, which means that when the extractor is pushed in after finishing cooking, the light switches off and the damper closes. And also vice versa, when the drawer is pulled out, the light will turn on and the shutter will open. Of course, depending on how the two toggle buttons for light and shutter are set.
Installation
The installation is simple, as the hood is supplied with angles which are screwed into the sides of the upper cabinet, after which the hood is screwed to the angles. In addition, we have made it even easier for the installer to adjust the hood to the building's ventilation system, as all settings of the hood's newly developed damper can be made after installation by removing the hood's filters. Adjustment diagrams and dimension diagrams can be found in the hood's installation instructions.


